Layering 101
Dialing in your Alpine System for Optimal Performance and Protection
By William Bevans
The Three Layer System
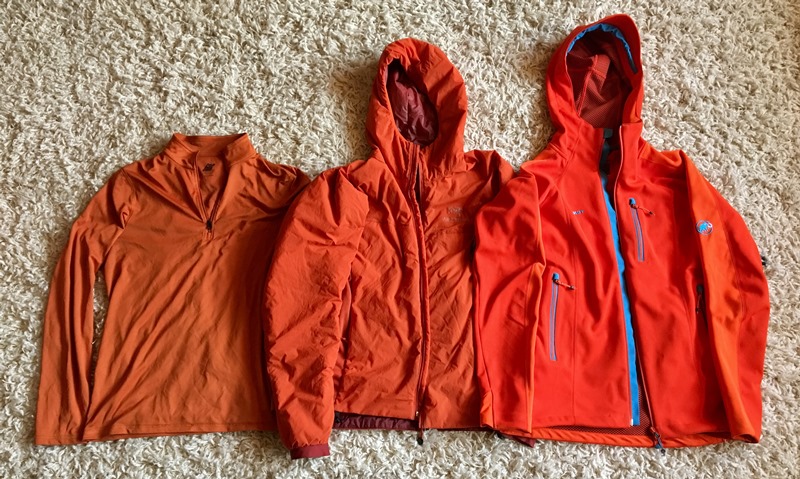
Your comfort and even survival in the backcountry is highly dependent on your layering system. Since a single piece of apparel cannot do the job, many different layers are used in sync to adapt to the constantly changing conditions. In this article, I will outline the basic three layer system commonly employed in alpine climbing with some extra considerations and tips. Below are the three foundational clothing layers generally utilized:
1) Base layer
The main purpose of your base layer is to wick moisture away from your body. This is your first line of defense because if this fails, your whole system will fail. First and most importantly, do not ever use cotton products. Cotton products will wick a small amount of moisture away from your body but will not rid the moisture completely or properly. Cotton acts like a sponge and if you are wearing wet cotton in cold temperatures, your body will struggle to stay warm. In an alpine environment, this can lead to numbers of issues, including hypothermia.
On your cold zero dark thirty (12:30am) start right out the tent, you may feel the need to pile the layers on. Once you get moving, however, you’ll find yourself heating up. Start managing that heat so your base layer can manage the moisture. You have a long day ahead and if you get wet early its gonna be even a longer day!
The two common base layer fabrics are wool and synthetic. Which one you decide to use is a matter of personal preference.
Synthetic layers include the poly-groups (polyester, polypropylene). Synthetics are generally inexpensive, dry very quickly, pack down efficiently, and tend to be quite durable. The downside is that they provide little insulation and therefore, only a small amount of body-warming qualities. Some claim poly fabrics retain odor, but usually you have bigger concerns on a climbing trip than having stinky clothes! On longer, two month expeditions, I often take my synthetics and wash them in a large hot water bowl with soap, lay them on my tent and after a few hours in the sun, they are clean and good to go.
Wool has seen many improvements recently and has made a strong comeback into the outdoor clothing industry. The common wool used is known as merino wool. Efficient insulating properties and excellent breathability are wool’s top trademarks. Wool comes at a price, typically higher than synthetics. One of the common complaints of wool is that it can be itchy. If you decide to dunk your wool in a bowl of hot water, you should certainly expect it to take considerably longer to dry than a synthetic.
Base Layer Tips
• Consider getting a quarter zip top to assist with dumping heat during periods of high output.
• Dedicate clothes to sleep in and clothes to climb in. At the end of your epic day, when you’re with your partner sharing a whiskey, get out of your climbing clothes and allow yourself to yourself to mentally and physically recharge.Think of it like getting out of your work clothes at the end of the day. It might take some effort, but if you sleep better, you will climb better.
• Consider a one-piece base layer. Picture yourself at home, wrapped snugly in a one-piece, keeping you toasty on the couch by the fire. Pretty sweet, eh? Alpine onesies are the same, except there probably isn’t a cozy fire or a couch where you are going to be. Onesies are quite comfortable and leave fewer cold spots and areas for the cold and snow to creep in. I pretty much guarantee once you have one, you will wonder why you didn’t get it sooner. Thank me later!
• Most base layers are compressible. Be creative by stuffing that extra base layer into something that doesn’t pack well (kitchen pot, etc…)
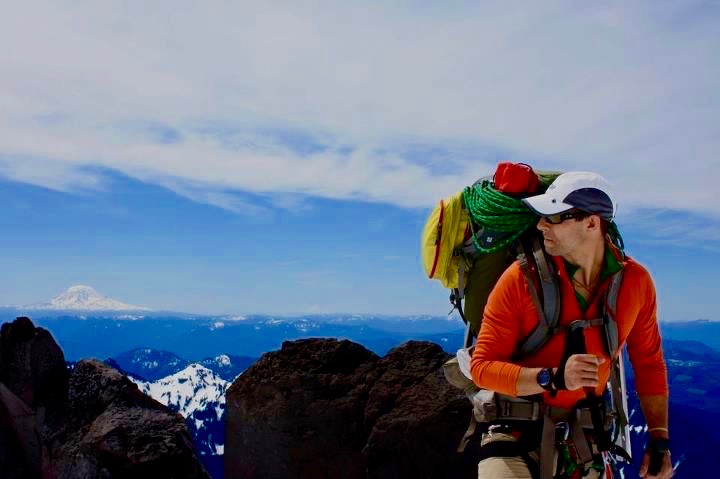
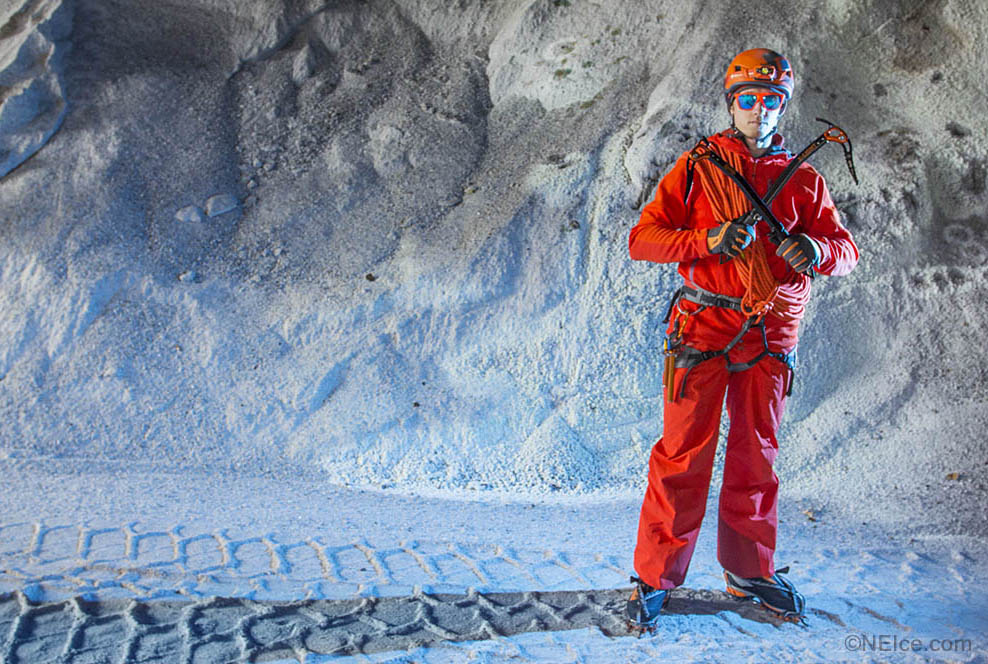
Using quarter zip synthetic base layers on the Kautz Glacier, Mt Rainier.
Dialing in fit.
A lot of companies are in the market today making gear. What works for you might not work for the next guy. Layering is as much an art as it is a science. Fit is extremely important and requires good ole trial and error. Just because all your flannel shirts at home are size M does not mean your size M for all of your climbing outerwear. Different companies cut items in different and sometimes mysterious ways. Take the time to dial in fit from your base layers to your harness.
2) Insulation layer
Your insulation layer’s primary role is to keep you warm and to regulate your temperature though breathability. Insulation can come in the form of fleece, which can be broken down into several different weights (100, 200, 300) combined with several other technical fabrics (windstopper, etc…). In alpine climbing, loft insulation is considered the benchmark where warmth is key. There are generally two types of loft insulation: synthetic and down fill.
Synthetic Insulation: In short, synthetic insulation jackets have come a long way. In today’s market, there are several synthetic jackets geared towards climbers that perform very well. Gone are the days where down fill insulation was simply unmatched. Top brands have developed jackets to handle your entire day start to finish, from a high output ski approach, to swinging tools, to a quick summit tag in full raging conditions to the long descent back to the car. These jackets that once didn’t pack so well now pack very nicely. While down fill still remains the best insulator, the biggest improvement with synthetics is the breathability factor and the jacket’s ability to regulate temperature. The clammy feeling that went along with synthetics is a thing of the past. Synthetic jackets can dry fast when wet and continue to keep you warm when wet. Synthetic jackets remain at a lower price than down jackets and for the earth conscious climber, many jackets now have insulation produced from recycled materials.
Spectrum of use
When considering any piece of gear, imagine how it looks on a scale of use. How many functions does the piece of gear serve? Does it reduce redundancies so you are not carrying three of the same thing? Most of the time it pays large dividends to have a piece of gear that can do many things. Ensuring your gear or clothing can serve a multitude of purposes can make packing easier, the weight you carry much less and the gear you have to manage less stressful. When you have redundancies in your pack, you may feel overwhelmed by the amount of items you have and that can damper your experience.
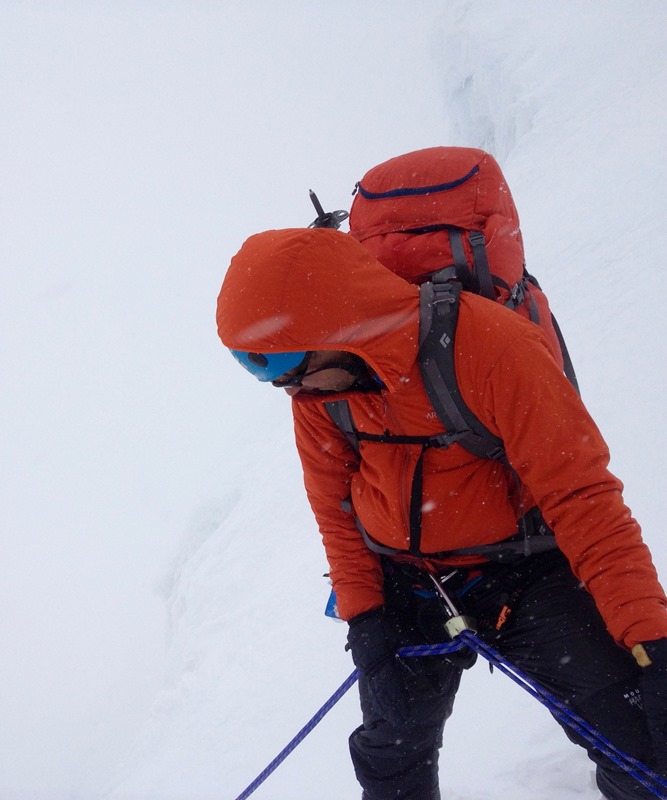
Synthetic insulation catching a beating on Alpamayo, Peru
Down Fill Insulation: For those venturing into the mountains where the cold is a major factor, down fill insulation is the gold standard. Down-fill insulation comes in several weights, from lower grade 550-fill to a no compromise 900-fill power. Fill power measures the amount of puffiness, which directly effects the amount of air the down fill can hold and ultimately insulate. Fill powers commonly seen by alpinists are 600, 750 and 800. I generally recommend utilizing down at 750-fill power and above. If the fill weights are still a little confusing, think of the lower grade down fills as ones you would use to walk around town. When in the mountains, having higher grade down really does make a lot of difference. To see first hand, go to your local store and compress a 600-fill jacket and then compress an 800-fill jacket. The compressibility makes a major difference. When down is taken care of it last several years and continues to keep you warm like no other product. Down has excellent breathability and packs down like a dream. The negative: down is always priced higher than synthetics and the higher the fill, the higher the price. Down is also useless if it becomes wet, so be very conscious of the condition of your jacket and limitations of your jacket shell. Overall think of your down jacket as an investment piece of gear and if you take care of it, it will take good care of you.
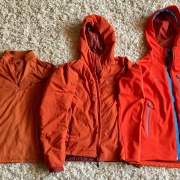
3) Shell layer
Your shell layer is your main line of defense against the elements. Your shell layer keeps your insulation layer, your base layer and you dry and warm. Shell layers are built to take a beating. They come in two different constructions: hard shell and soft shell.
Soft Shell: There are a few major differences between soft shell construction and hard shell jackets. Soft shells are designed with fabrics with superior ergonomics, performance and movement in mind. The user will experience a jacket that “flows” and wears much smoother with them than a hard shell.
Many different types of fabrics are used in soft shell construction and each provides a very different experience based upon activity type and conditions.
Soft shells are more breathable than hard shells, but they do a mixture of repelling and absorbing the outdoors. They don’t completely protect you against snow, wind or water, so the trade off is performance and comfort versus weather defense. All soft shells are going to respond to weather differently, so it is important you try to dial in the comfort level you have with your jacket slowly. Consider using a soft shell for shorter trips, roadside ice or places where you are very comfortable with conditions.
Hard Shell: Hard shell jackets are the ultimate guard against the elements. A hard shell will use materials that do not allow water or wind to penetrate the fabric. The downside to this defense is that the fabric does not breathe as well as a soft shell. Another downside to the hard shell is lack of ergonomics and how the jacket wears during activity. The hard shell is going to feel a little bulkier and have a general lack of smooth movement. Both soft and hard shells are pricey but hey…what isn’t in climbing anymore?
Still not enough ?
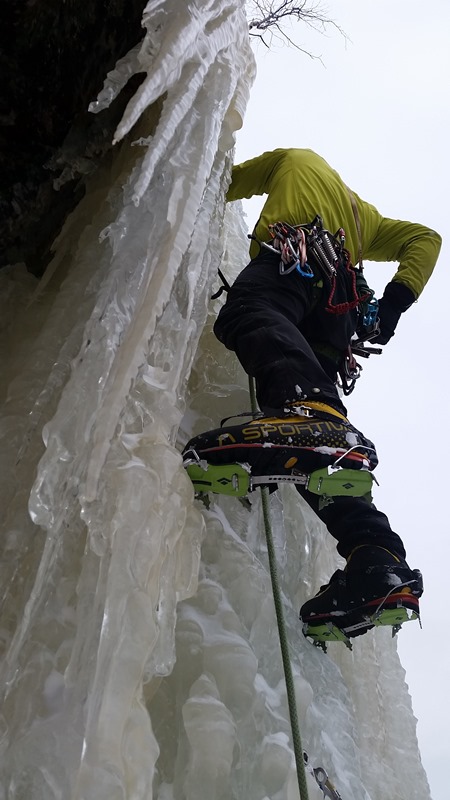
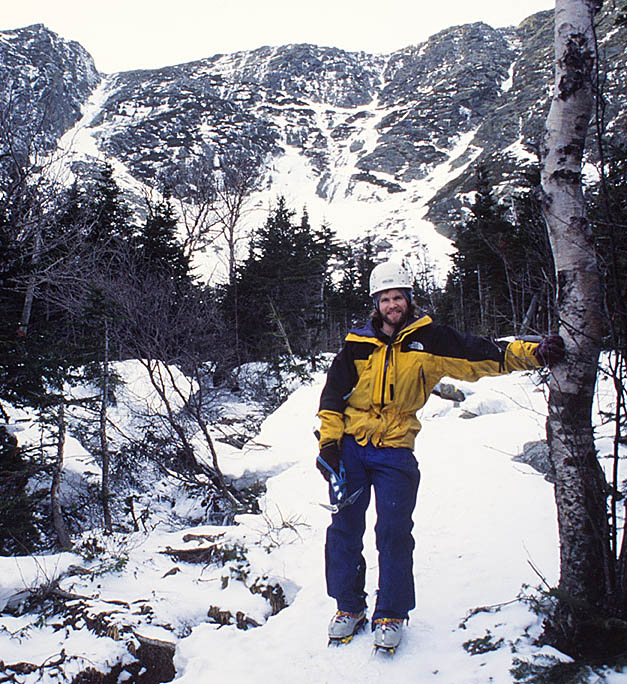
Soft shell on the sharp end of Snot Rocket (W5) Mt. Willard, NH
For epic cold outings bring a belay jacket. When your up at Lake Willoughby ripping up Twenty Below Zero Gully and your soul is on its way to being frozen stiff, a belay parka may just save you! A belay jacket provides the highest levels of warmth and protection when mountain conditions begin to rage on you. This jacket earned its title for saving you during the periods of time when your caught on the belay ledge while your partner stitches the last pitch and the mercury has seriously begun to dip. The belay jacket will allow you to remain warm and focus on your belay duties instead of suffering from the cold. On the flip side, a belay jacket is also great in big mountain base camp settings, or just back at the climbing cabin when your just hanging around by the stove waiting for your partner to make a hot brew and heat up the tasteless evening gruel. The versatility of this jacket that excels in the field, and on your downtime makes it a staple in every climber’s closet. A belay parka/jacket is cut two different ways. The parka is cut bigger and will usually cover your harness and have a bulkier feel. A jacket will be waist cut and fall just above your harness. Which you pick is just a matter of preference. Sometimes the parka zipper can come up a bit from the bottom and this will allow you to clearly see your belay loop, tie-in knots and such. While in the field, keep in mind you will be taking this jacket on and off and stuffing it in your pack constantly. This jacket will be taking a good beating, so pick a good one.
To wrap up, I hope this helps with all your layering needs. Dial in your alpine costumes at home before you head out. Buy the gear you like and don’t make a habit out of compromising. If you like your gear, you’ll look good; if you look good, you’ll feel good; if you feel good, you’ll climb good, and if you climb good, you’ll be happy!
About the Author: William Bevans is a New England based alpinist with over 20 years of experience in the mountains. His studies are concentrated in the area of technical alpine and high altitude mountaineering. He has completed climbs and led expeditions in the Cascades, Rockies, Alps, Himalayas, Andes, and big walls in Yosemite, Zion and Mexico. Currently he is involved in mentoring next generation alpinists and climbing the New England classics.


 Steve House – If you really need me to provide his bio here, you don’t want this book. Just go back to your Facebook page.
 Scott Johnston, on the other hand, iisn’t well known to most recreational climbers. Even though he has a proud resume of Himalayan and Alaskan mountaineering, he comes mainly from the world of swimming and Nordic skiing, both at the World Cup competitive level and as a coach. Most of us know that cross-country ski racers are probably the fittest athletes out there, and so his research and perspectives are absolutely applicable to alpine climbing. If ever you are in the Adirondacks and want to take a day off from ice climbing, go check out the college kids training at Mount Van Hoevenberg. You’ll come away feeling flabby.